
Getting started with coding#
You have now installed CircuitPython onto your Pico and can start writing code to upload to the microcontroller! To do this we can use code editors, which provide a neat interface for us to write, check and upload code.
There are several ways to connect to the Pico, listed below:
If you are a beginner, we suggest Mu - a code editor optimised for CircuitPython. Unless you are a die-hard fan of a different code editor, Mu is recommended as it has several features that allow for streamlined communication with your Pico.

You can download the Mu program for your computer using this link.
Once opened, select CircuitPython as your preferred mode.
Tip
It is easier to first connect your Pico to your computer before opening the Mu interface. This way, Mu knows straight away to save files directly onto the CIRCUITPY drive on your Pico.
Creating code files
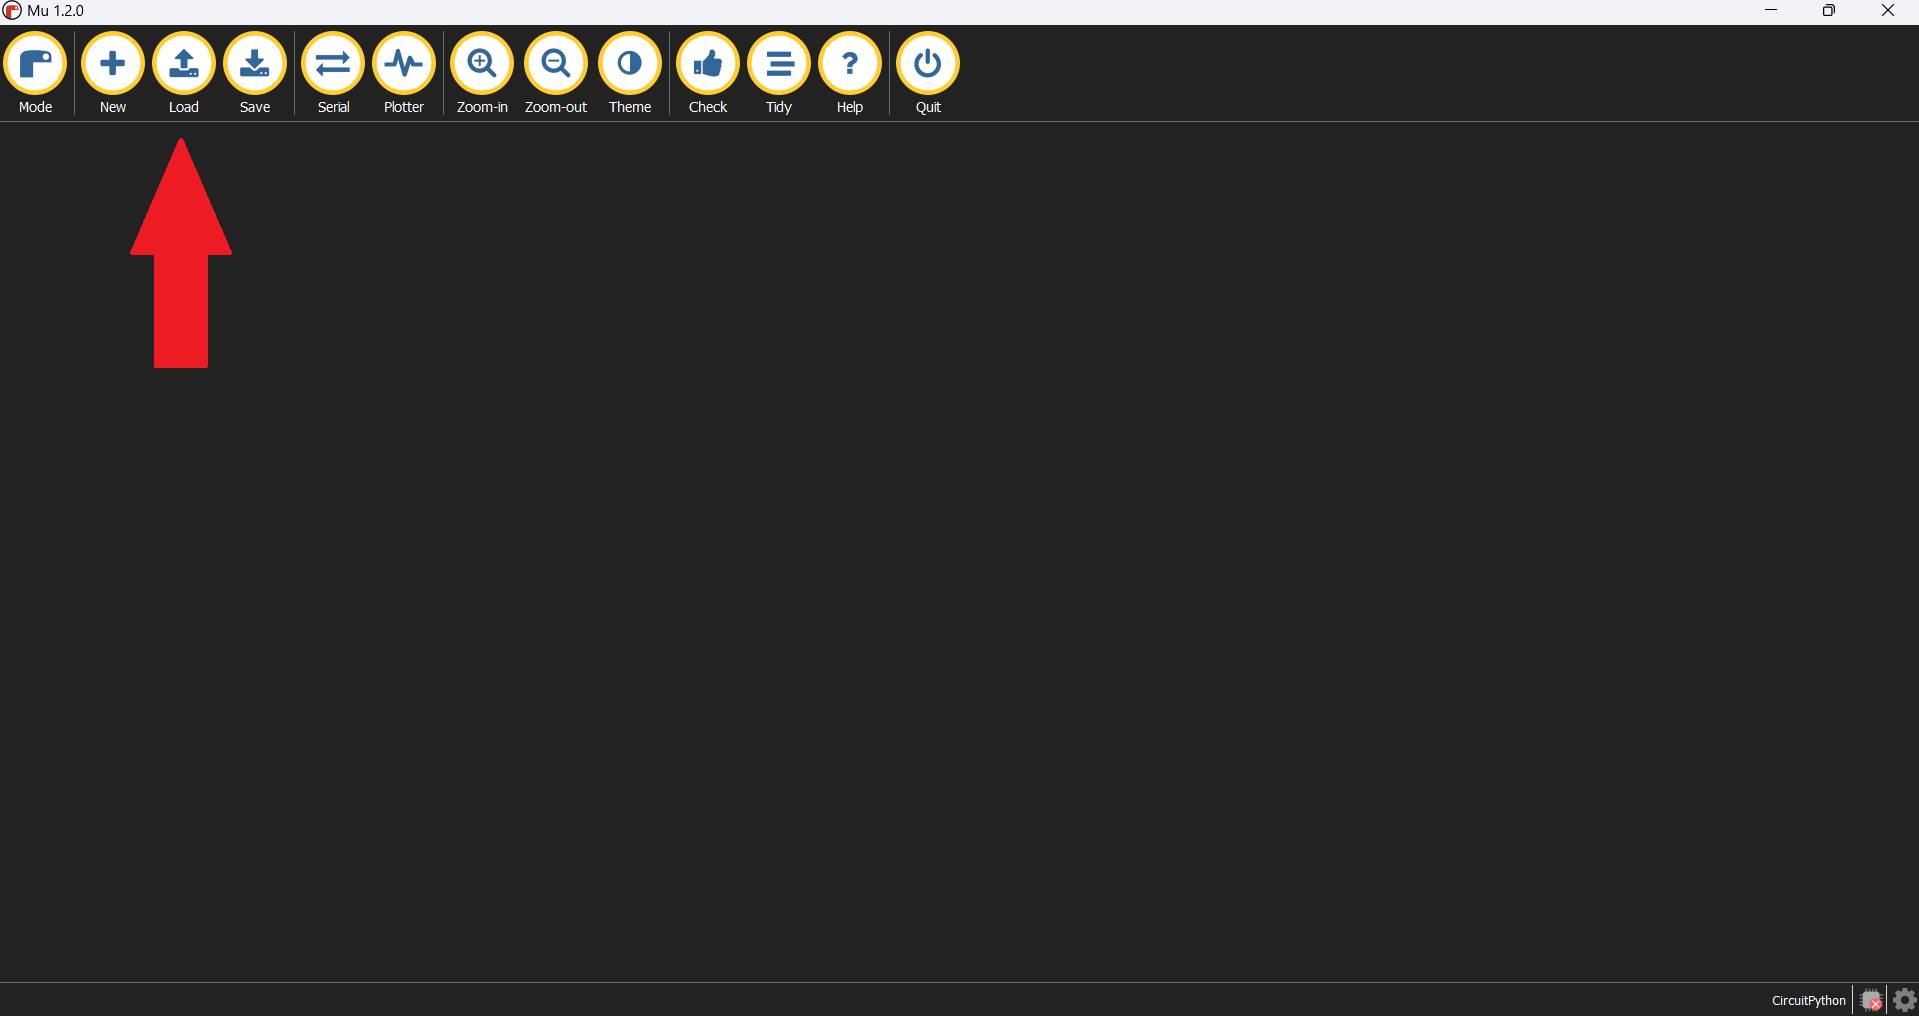
To start, first click on the load button:
Click on the code.py file that should already be in your CIRCUITPY drive and click OPEN. This file is where you will upload all of the code that you write for your Pico.
Note
In case you can’t find a file called code.py in the drive, go back and create a new file then save it as code.py.
CircuitPython will only recognise and run program files named:
code.txtcode.pymain.txtmain.py
It will also only run one program file at a time, so choose either code.py or main.py and stick to it.
To save your work, you can copy your code.py file into a separate folder on your computer’s home drive and rename it. Once your code is saved in a different location, you can go back to your code.py file and write up a new program.
More from Mu
For more information on how to use Mu, you can check the link here for more tutorials.
Python Tutorials
For tutorials on using Python there are a lot available on the internet. One examples can be found from the Python in Chemistry Group
The Serial Console
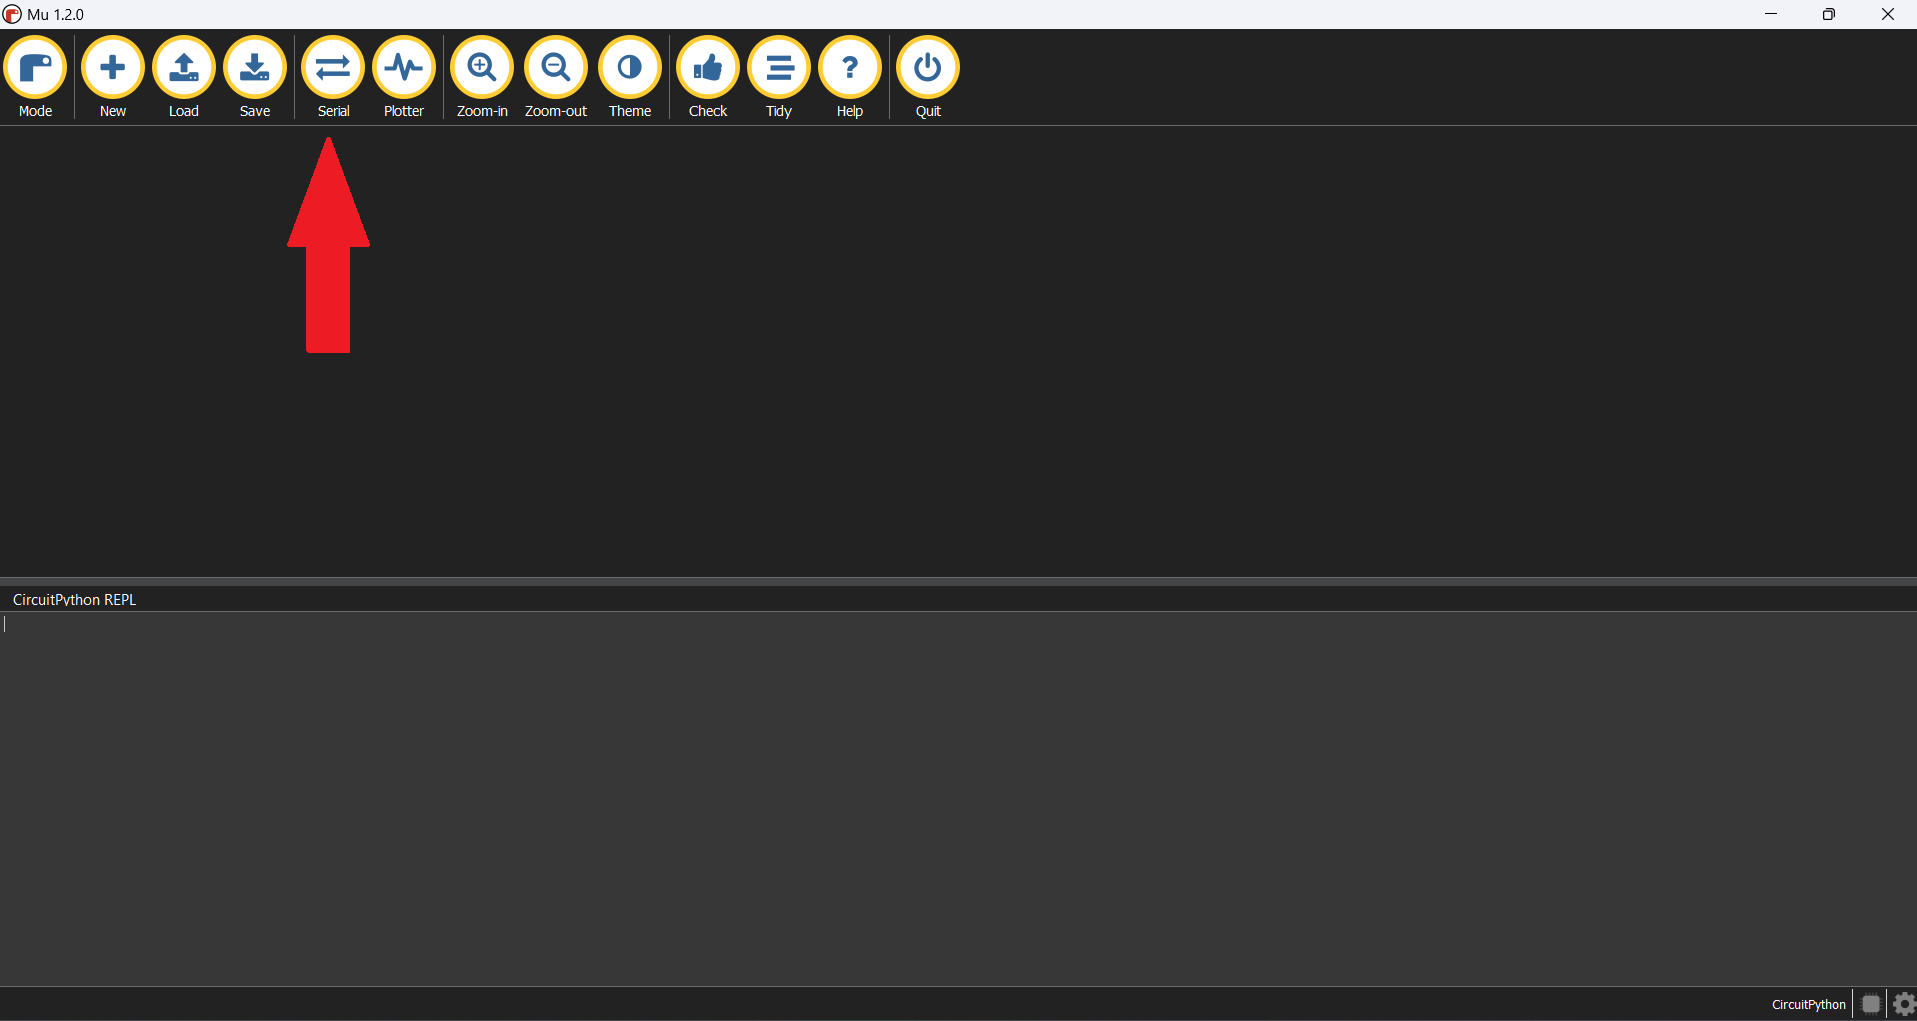
One of the most useful features you will use is the Serial Console - accessed using the Serial button.
The serial console effectively establishes real-time communication between you and your Pico. This can be used for a variety of things:
Any error messages for your code will be shown in the serial console.
You can print data or other inputs to the serial console.
You can use it for debugging by printing intermediate values, objects, etc. to the serial console to find mistakes.
You can access the REPL (see below)
If you are more experienced then you can try other ways. Perhaps easiest is a combination of editing the code file using a text editor (such as notepad) and viewing the serial connection using a Terminal Emulator, such as PuTTY. But note this will not look for errors in your code automatically, unlike Mu.
Creating code files
To start, make sure the Pico is connected and go to the CIRCUITPY drive using your file manager (such as Explorer on Windows or Finder on a Mac). The code.py file should exist, open it in your text editor of choice ( for example notepad++ is a powerful text editor for Windows), but avoid programmes such as Word that can add unnecessary formatting.
Note
In case you can’t find a file called code.py in the drive, go back and create a new file then save it as code.py.
Make your edits in this file then save to upload to the Pico
CircuitPython will only recognise and run program files named:
code.txtcode.pymain.txtmain.py
It will also only run one program file at a time, so choose either code.py or main.py and stick to it.
To save your work, you can copy your code.py file into a separate folder on your computer’s home drive and rename it. Once your code is saved in a different location, you can go back to your code.py file and write up a new program.
Serial Connection Using a Terminal
To communicate with a running programme on the Pico you can connect over the Serial connection (via the USB) using a Terminal Emulator. There are several available. For Windows there is PuTTY while CoolTerm is available for Windows, Mac and Linux.
To use them, open the Terminal programme. If necessary set the Serial Port you wish to connect over. For Windows this will be COMXX where the XX are numbers and can be discovered by going to device manager. For Linux you need to look in the /dev folder which contains the links to tty devices, ls /dev/tty* will list all connected tty devices. he serial port will appear as ttyAM0 or possibly ttyAM1. To be sure plug and unplug the device and see what changes. It is possible you have to define the Baud rate for the Serial port, for the Pico this is 11570 Baud.
The serial console effectively establishes real-time communication between you and your Pico. This can be used for a variety of things:
Any error messages for your code will be shown in the serial console.
You can print data or other inputs to the serial console.
You can use it for debugging by printing intermediate values, objects, etc. to the serial console to find mistakes.
You can access the REPL (see below)
Using the REPL#
However, communication can go both ways using REPL. This stands for Read - Evaluate - Print - Loop, when activated it stops running any code on the Pico and waits for your input.
When no code is running, press any key when in the Serial Console to activate REPL.
When code is running, you should click into the Serial Console and press CTRL-C.
To leave the REPL you can press CTRL-D.
Note
An important feature of REPL is that nothing is saved when you leave the REPL environment. You will have to redefine any variables and re-import any modules each time you return to the REPL.
When REPL is enabled, you can type singular lines of code directly into the Serial Controller and get a response.
You can print statements, e.g.
print('Hello World!')You can use it like a calculator, e.g.
(2**16) - 1You can also access information about the CircuitPython program
For example try typing help("modules"). You should get a list of all the core modules that are already present in the CircuitPython program.
Another useful one is dir(board) which returns a list of the names for all of the pins present on the Pico. For this command to work, you first have to import the board module with import board - more on that later.
>>> import board
>>> dir(board)
['__class__', '__name__', 'A0', 'A1', 'A2', 'A3', 'GP0', 'GP1', 'GP10', 'GP11', 'GP12', 'GP13', 'GP14',
'GP15', 'GP16', 'GP17', 'GP18', 'GP19', 'GP2', 'GP20', 'GP21', 'GP22', 'GP23', 'GP24', 'GP25', 'GP26',
'GP26_A0', 'GP27', 'GP27_A1', 'GP28', 'GP28_A2', 'GP3', 'GP4', 'GP5', 'GP6', 'GP7', 'GP8', 'GP9', 'LED',
'SMPS_MODE', 'STEMMA_I2C', 'VBUS_SENSE', 'VOLTAGE_MONITOR', '__dict__', 'board_id']
More on modules
For a list of all the CircuitPython modules available for the Pico, check this useful page and scroll down to the entry for the Raspberry Pi Pico.
Warning
Sometimes the Pico can seem unresponsive, this can be because it is in the REPL. This can be solved by pressing Ctrl+D to leave the REPL