
Sending data over WiFi#
Requirements
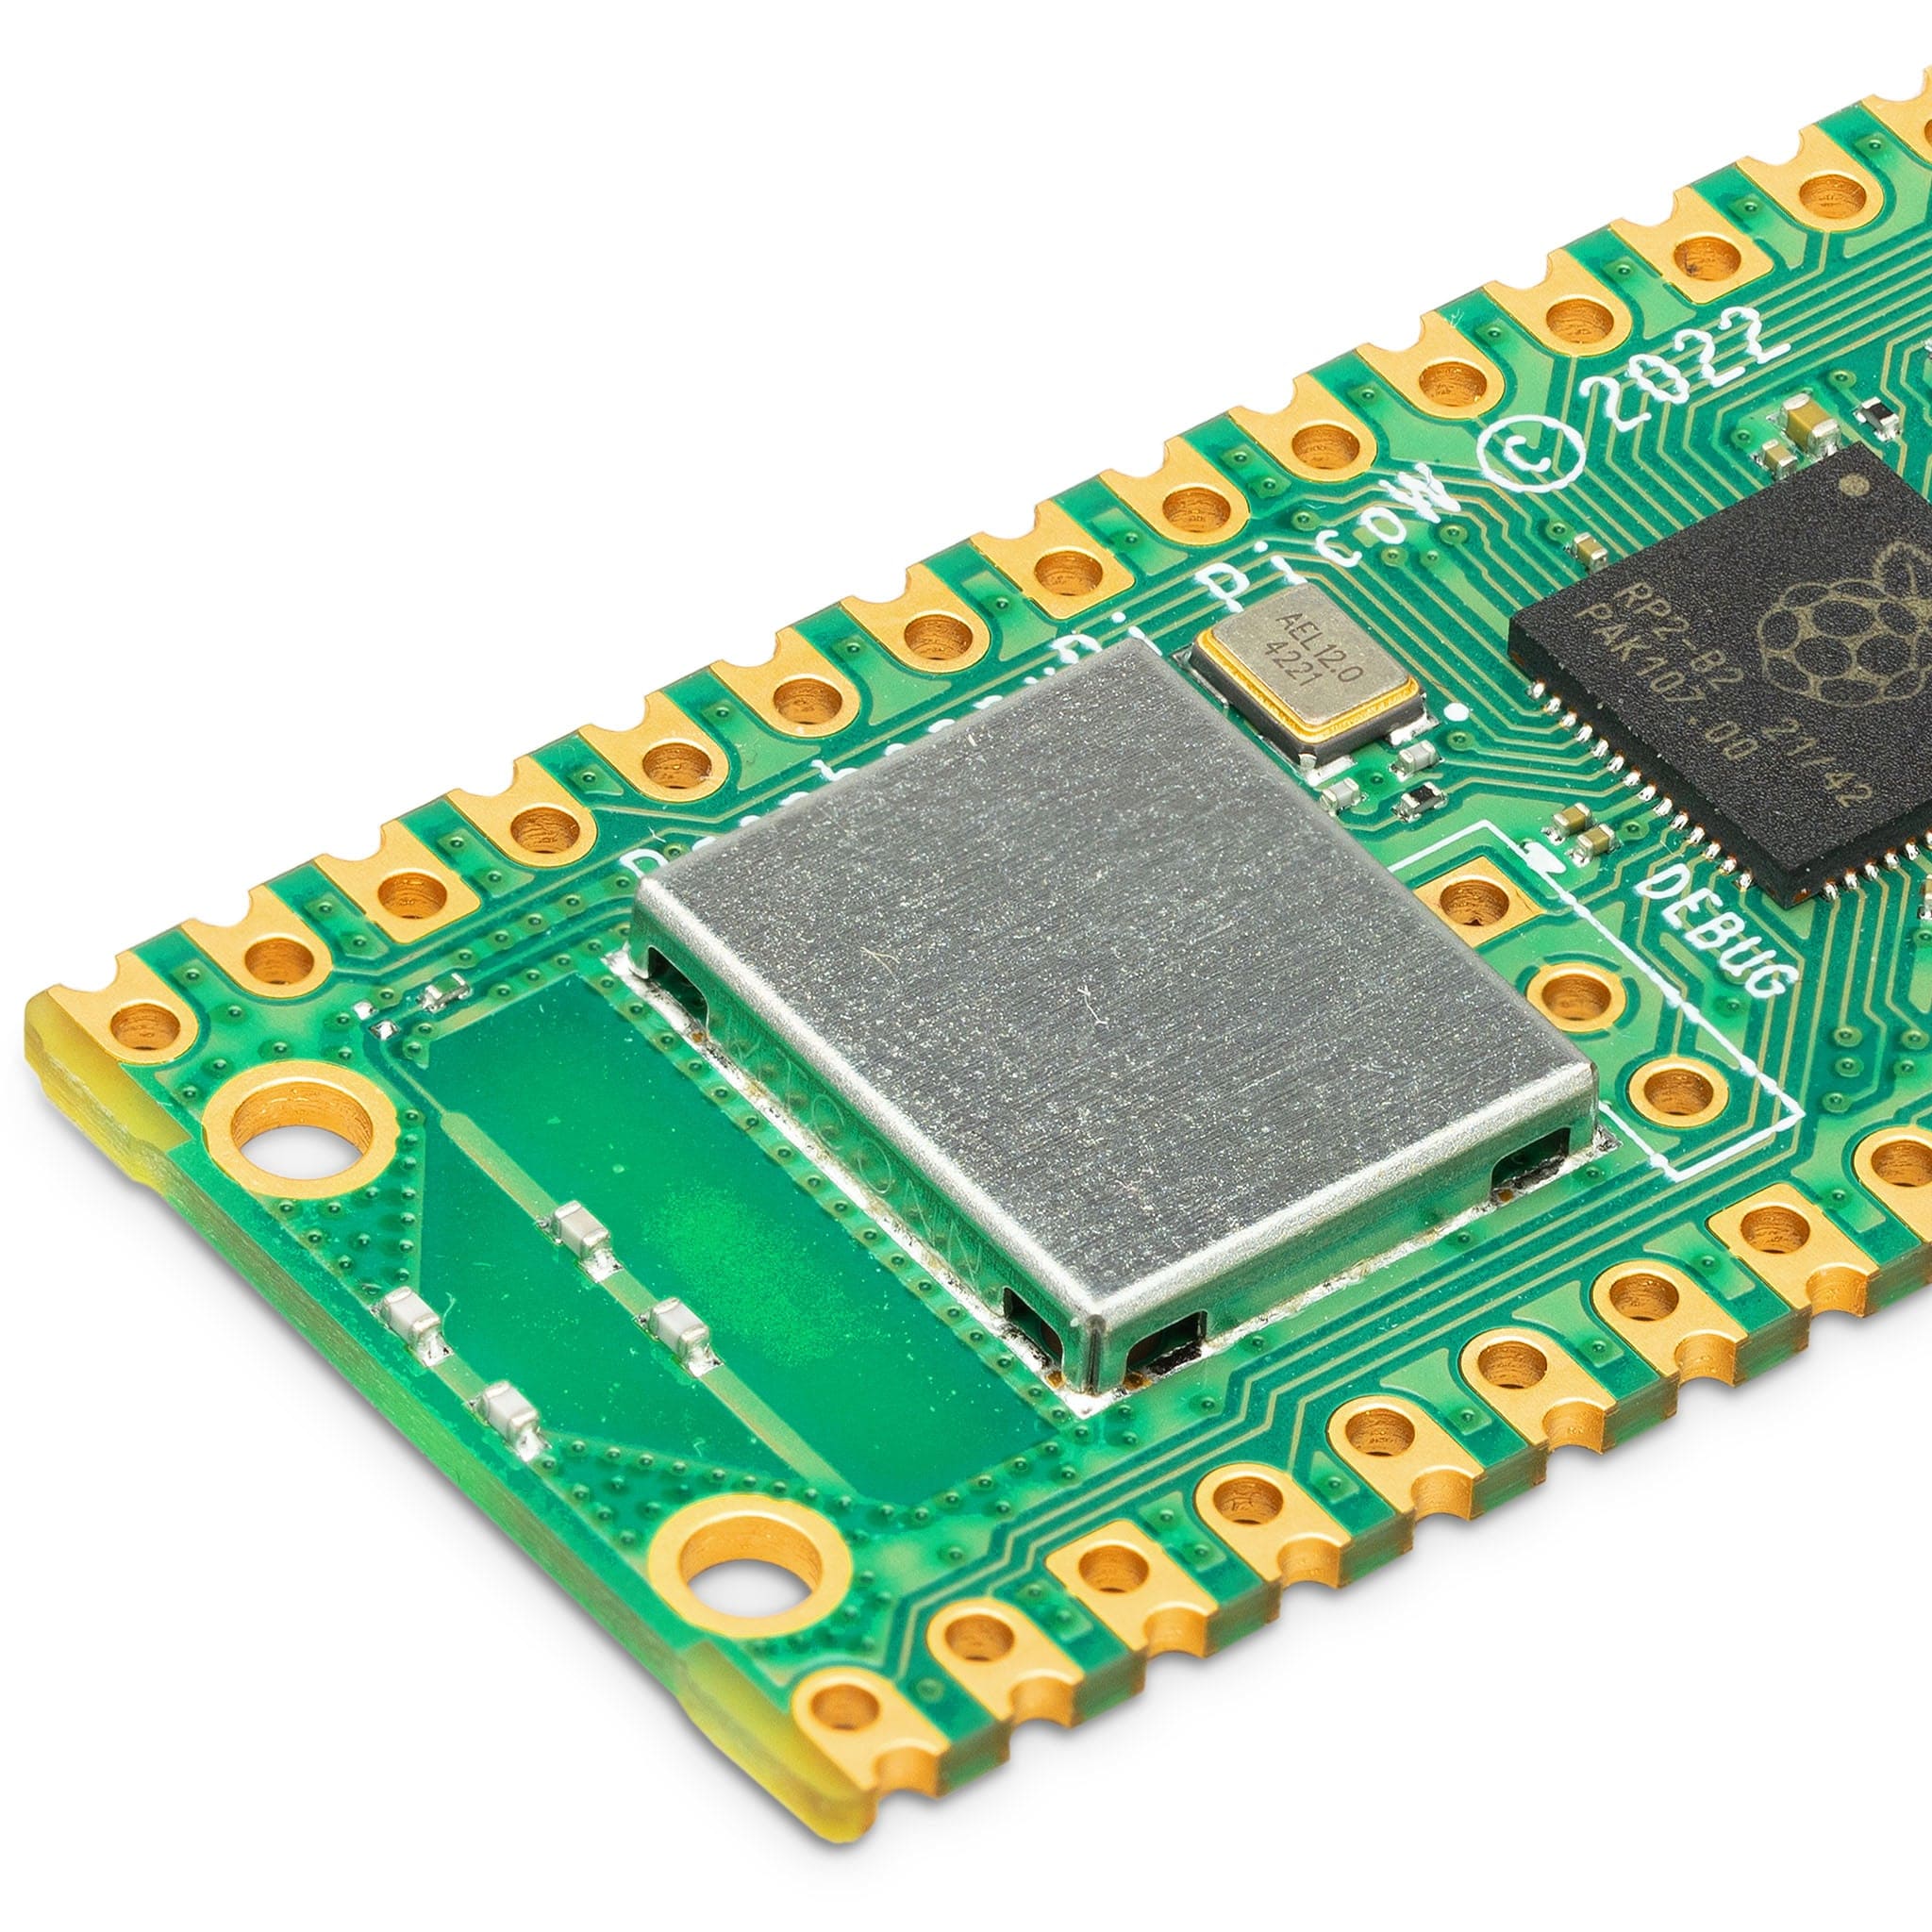
A Pico
A Wifi adapator (we are using a Pico W which has built in Wifi)

Set-up#
Since the Wifi module is built in - we don’t need to worry about wiring anything to the Pico W.
The only step we need to first take is to create a settings.toml file in the CIRCUITPY drive. This is a type of text file which will hold all our sensitive network information separate to the main code.py file.
The information that we will hold here is your WiFi’s SSID (its name) and password, as well as the IP address which you are making the request to.
INATORNAME = ""        # Name of the device, will be used when sending data
ACQUIRETIME =          # The value (in seconds) of how often to acquire data and log for
RECONTIME =            # The value (in seconds) of how often to attempt to reconnect to the wifi network if lost
WIFI_SSID = ""         # Fill in with your WiFi network's name
WIFI_PASSWORD = ""     # Fill in with your WiFi network's password
IP_ADDRESS = ""        # Fill in the IP address or URL you are connecting for the http request
PORT =               # Fill in the port you are connecting to for the http request
END = ""               # Fill in the end point you wish to connect to for the http request
Warning
Remember this information is stored in plain text and so can be read by anyone with access to the Pico.
Therefore, make sure you don’t store passwords or credentials here that can give too much access to your systems
There may be other information you want to include here like the port or other URL extensions.
Note
Make sure to keep the speech marks when putting your own network details into the settings.toml. This ensures that CircuitPython recognises the variables as strings.
Code set-up#
Now we can program our Pico to send data over WiFi to a server that will accept a HTTP POST request and take our JSON based data.
Below is an example for sending temperature and humidity data to a server.
Importing libraries#
Here we require two libraries that are not included in the core CircuitPython package that we downloaded - adafruit_connection_manager and adafruit_requests.
To access these libraries, we need to upload them to the Pico from a separate bundle. Follow the instructions below:
Go to this website where you can download a bundle of official CircuitPython libraries. Make sure to download the bundle that matches your version of CP (most likely 10.x).
Open the .zip file and in the lib folder, find the files called adafruit_connection_manager.mpy and adafruit_requests.mpy.
Copy these files into the lib folder on your CIRCUITPY drive.
You have now uploaded these libraries onto your Pico and can use them as seen below.
"""Code to connect a pico to a Wifi network"""

import os
import microcontroller
import adafruit_connection_manager
import wifi
import adafruit_requests
import time
import json
import board
import supervisor

# This function tries to connect to the Wifi
def conn_wifi(wifi_ssid, wifi_password):
    print(f"\nConnecting to {wifi_ssid} network...")
    try:
        wifi.radio.connect(wifi_ssid, wifi_password)
        wifi_con = True
    except OSError as e:
        print(f"❌ OSError: {e}")
        wifi_con = False

    return wifi_con

# Retrieve variables from settings.toml
ssid = os.getenv("WIFI_SSID")   # the name of the Wifi network
password = os.getenv("WIFI_PASSWORD")   # the password of the Wifi network
accTime = os.getenv("ACQUIRETIME")  # how often to acquire and transmit data
recTime = os.getenv("RECONTIME")  # how oftern to reconnect in seconds

wifi_con = False

# Initalize Wifi, Socket Pool, Request Session
pool = adafruit_connection_manager.get_radio_socketpool(wifi.radio)
ssl_context = adafruit_connection_manager.get_radio_ssl_context(wifi.radio)
requests = adafruit_requests.Session(pool, ssl_context)

# Connect to the Wi-Fi network
wifi_con = conn_wifi(ssid, password)

if wifi_con:
    print("✅ Wifi!\n")
    print("IP-Adress is", wifi.radio.ipv4_address)

    while True:
        if wifi.radio.connected:
            try:
                #This section of code can be used to send/process data
                print("Connected")
                time.sleep(accTime) #Sleep for however long before sending data again
            except (ValueError, RuntimeError) as e:
                # this is a broad error, would be better to catch specifics
                # maybe RuntimeError
                print(f"Error {e}")
                upervisor.reload()
                # Attemp reconnect (for example if something goes wrong)
            except Exception as e:
                print(f"Error {e}")
                supervisor.reload()
        else:
            print(f"Wifi Disconnected - will attempt to reconnect every {recTime} mins")
            wifi_con = conn_wifi(ssid, password)
            if not wifi_con:
                # wait recTime until reattempt connection
                time.sleep(recTime)
else:
    print("❌ Wifi!\n")
    print("Connection attempt failed")
This codes connects to the Wifi, prints the IP address that it finds.
In the try: loop can be added code that connects to something over Wifi. For example to connect to a server, such as Flask or nodeRed, do the following:
Make sure the Flask example is running and note down its IP address and port. Put those into the correct entries in the settings.toml and for the endpoint put in datalog.
The following code will then make a request to that server:
"""Code to connect a pico to a Wifi network"""

import os
import microcontroller
import adafruit_connection_manager
import wifi
import adafruit_requests
import time
import json
import board
import supervisor

# This function tries to connect to the Wifi
def conn_wifi(wifi_ssid, wifi_password):
    print(f"\nConnecting to {wifi_ssid} network...")
    try:
        wifi.radio.connect(wifi_ssid, wifi_password)
        wifi_con = True
    except OSError as e:
        print(f"❌ OSError: {e}")
        wifi_con = False

    return wifi_con


# Retrieve variables from settings.toml
inatorname = os.getenv("INATORNAME")
ssid = os.getenv("WIFI_SSID")
password = os.getenv("WIFI_PASSWORD")
ip = os.getenv("IP_ADDRESS")  # The IP address for the http request
port = os.getenv("PORT")  # The port for the http request
endpoint = os.getenv("END")  # URL target of the http request
accTime = os.getenv("ACQUIRETIME")  # how often to acquire and transmit data
recTime = os.getenv("RECONTIME")  # how oftern to reconnect in seconds

# Set URL
Request_URL = "http://" + ip + ":" + port + "/" + endpoint

wifi_con = False

# Initalize Wifi, Socket Pool, Request Session
pool = adafruit_connection_manager.get_radio_socketpool(wifi.radio)
ssl_context = adafruit_connection_manager.get_radio_ssl_context(wifi.radio)
requests = adafruit_requests.Session(pool, ssl_context)

# Connect to the Wi-Fi network
wifi_con = conn_wifi(ssid, password)

if wifi_con:
    print("✅ Wifi!\n")
    print("IP-Adress is", wifi.radio.ipv4_address)

    while True:
        if wifi.radio.connected:
            try:

                timetrial = time.monotonic()
                # Create dictionary
                json_dict = {
                    "inator": inatorname,
                    "time": timetrail,
                }  # Send data with JSON syntax
                json_data = json.dumps(json_dict)
                print(f"{json_data}")
                # code for transmitting data somewhere goes here
                with requests.post(Request_URL, json=json_data) as response:
                    json_resp = response.json()
                    print(json_resp)
                time.sleep(accTime)
            except (ValueError, RuntimeError) as e:
                # this is a broad error, would be better to catch specifics
                # maybe RuntimeError
                print(f"Error {e}")
                # Attemp reconnect (for example if e is EBDAF as MQTT connection is down)
            except Exception as e:
                print(f"Error {e}")
                supervisor.reload()
        else:
            print(f"Wifi Disconnected - will attempt to reconnect every {recTime} mins")
            wifi_con = conn_wifi(ssid, password)
            if not wifi_con:
                # wait recTime until reattempt connection
                time.sleep(recTime)
else:
    print("❌ Wifi!\n")
    print("Connection attempt failed")
What is my MAC address
Some networks require the MAC address of a device’s network interface to be registered. To look it up try the following code
#  prints MAC address to REPL
mac_address_bytes = wifi.radio.mac_address
mac_address_string = ":".join("{:02x}".format(x) for x in mac_address_bytes)
print("MAC Address:", mac_address_string)
What Wifi networks are availabe?
To see what Wifi networks are available. Try the following code:
import adafruit_connection_manager
import wifi
import adafruit_requests

# Initalize Wifi, Socket Pool, Request Session
pool = adafruit_connection_manager.get_radio_socketpool(wifi.radio)
ssl_context = adafruit_connection_manager.get_radio_ssl_context(wifi.radio)
requests = adafruit_requests.Session(pool, ssl_context)

# This code will scan for available Wifi networks
# Can comment out if you know what you wish to connect to
for network in wifi.radio.start_scanning_networks():
    print(
        "\t%s\t\tRSSI: %d\tChannel: %d"
        % (str(network.ssid, "utf-8"), network.rssi, network.channel)
    )
wifi.radio.stop_scanning_networks()

#  prints MAC address to REPL
print("My MAC addr:", [hex(i) for i in wifi.radio.mac_address])
mac_address_bytes = wifi.radio.mac_address
mac_address_string = ":".join("{:02x}".format(x) for x in mac_address_bytes)
print("MAC Address:", mac_address_string)
It is of course possible to replace the code that reads in the DHT values with values from other sensors