
Logging to an SQL databast in Node-RED#
We will now show you how to set up and log values into a SQL database in Node-RED
Requirements
A Raspberry Pi (or other device) with Node-RED installed
Guide#
The first step is to install the SQLite node into your version of Node-RED. We are using SQLite as it is a light weight and simple database system. Other types of database (such as Post Gres) are available and will work in a similar manner.
Install sqlite node and query builder#
From the Command line using:
npm install node-red-node-sqlite
npm install node-red-contrib-sql
or directly through the Node-RED UI.
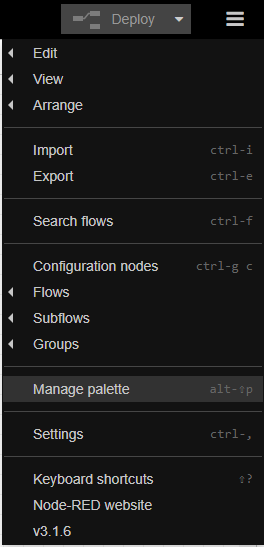
Navigate to the drop-down menu in the top right corner, and select ‘manage palette’:
search in the pallet for -node-red-node-SQLite (there are other SQLIte nodes but this seems most active and up to date) and install.
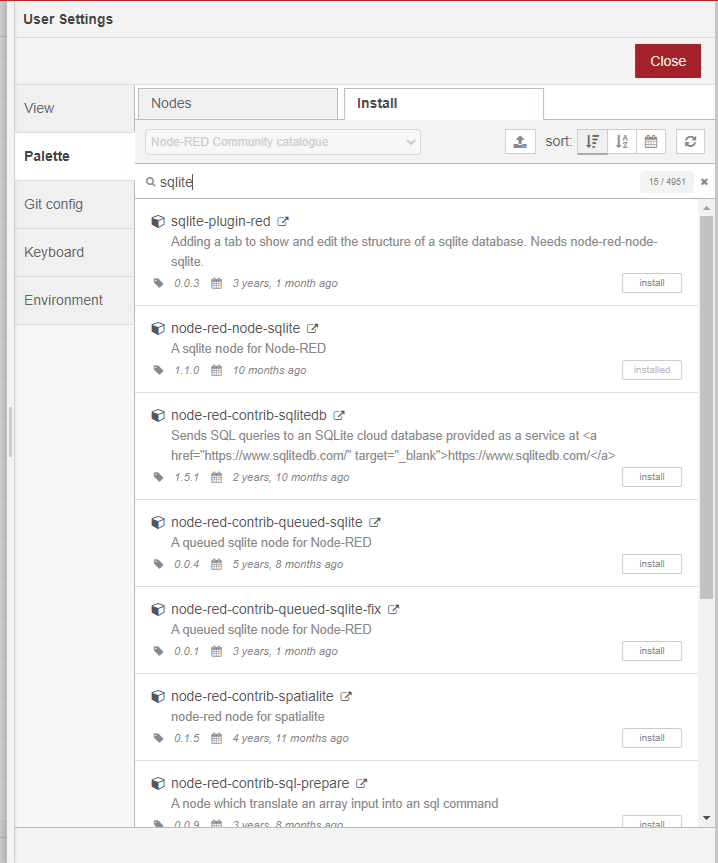
Then repeat to install node-red-contrib-sql
How we use the database then has a couple of steps.
Firstly, we need to create the database file and add any tables to the database. There is only a single database per Node-RED instance but it can contain many, many tables.
We will therefore add a inject node

Followed by a SQLite node which we will set up
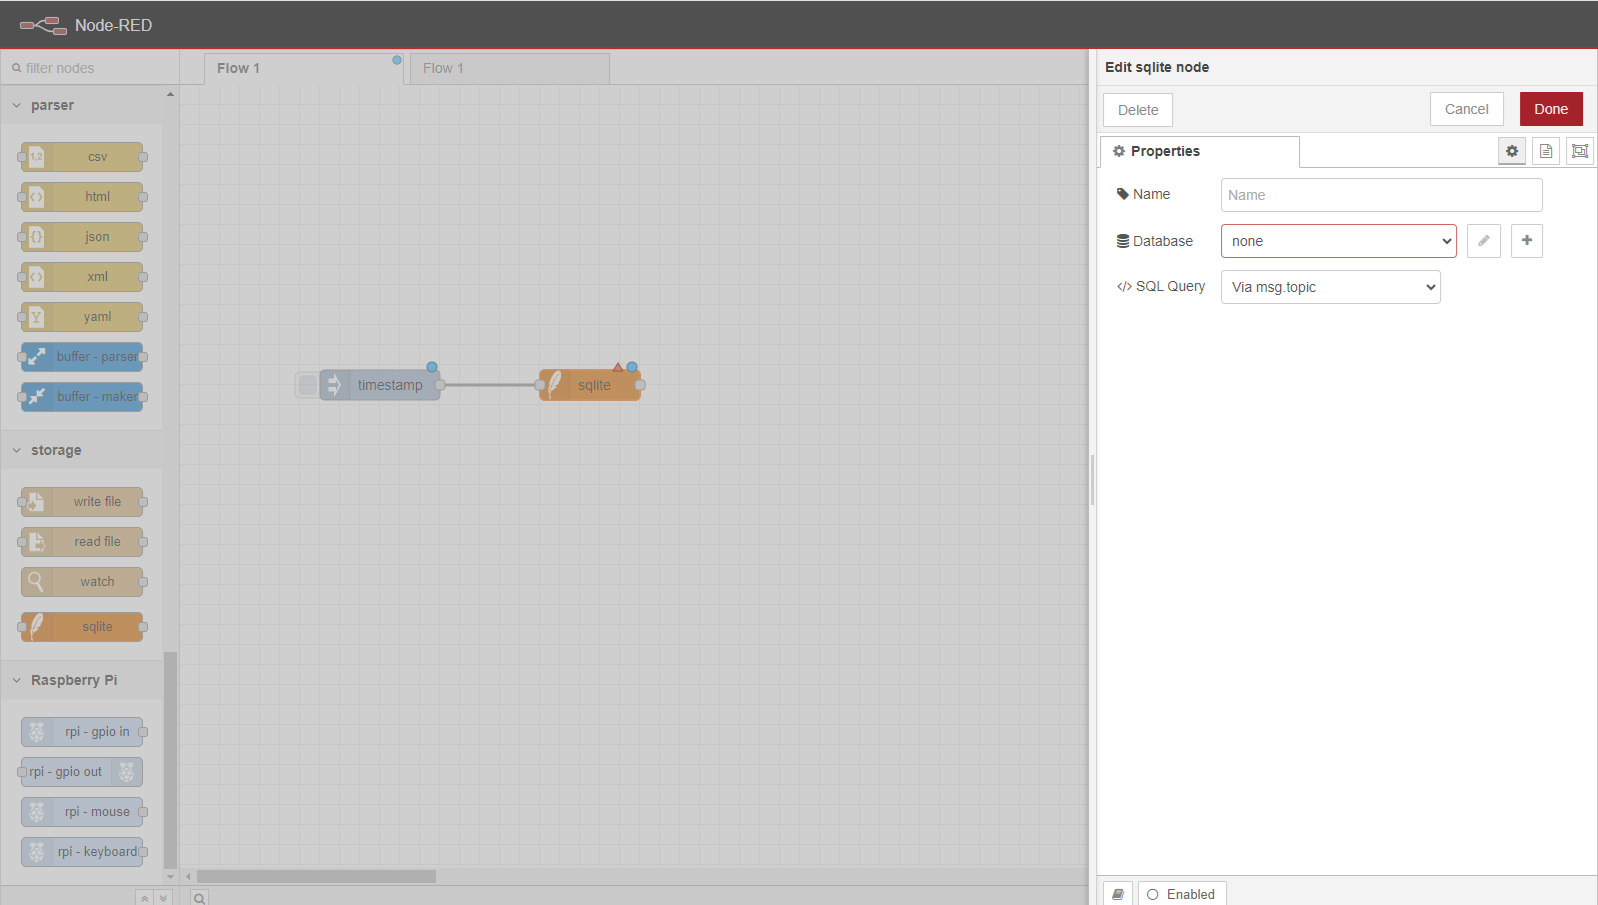
We need to point the Database to a file (it doesn’t have to exist). By clicking on the plus and entering the path in Database.
Then we need to set <>SQL Query to be a fixed statement. We can then put the Create table SQL command in this space. This will vary depending on your needs.
For our examples we will use the following command
CREATE TABLE logdata (id Text, timestamp Time, value_1 float, value_2 float)
This will create a table called logdata, with an id, a timestamp and two floats
To run this deploy and then press the inject node to activate
Secondly, we need to insert our values in when they are collected.
We will use an inject node and a function node to simulate data arriving. Add an inject node and wire it to a function node. Add the following code into the function node
msg.payload["id"]="testdev";
msg.payload["value_1"]=40;
msg.payload["value_2"]=60;
return msg;
For real data we need to worry about security of the database. As the data will likely come from remote sources we can’t necessarily trust them. Therefore, we should try to construct SQL queries that are sanitised. That is we make sure extra commands do not get snuck in, which is a risk if we construct queries using concatination of strings. Hence why we are using node-red-contrib-sql, this allows us to construct controlled queries. Finally we will need to access the data somehow (more of this in another tutorial)