
Using Serial with Node-RED#
We are going to show you how to make a UART serial connection between the Raspberry Pi and a microcontroller (or anything else that communicates with UART)
Requirements
A Raspberry Pi (or other device) with Node-RED installed
A device that communicates via UART (we have used an Arduino UNO)
Guide#
The first step is to make sure permissions are in place to for user code to access the UART serial connection.
To do so run the following in the Raspberry Pi terminal, replacing
sudo adduser <red-user> dialout
this adds the user to the dialout grouping which gives them (and programmes they run) permission to access the serial port.
Next plug in the Arduino (or your device) with the USB and look in /dev (using the terminal). A useful command is ls /dev/tty* which will list all tty devices.
The serial port will appear as ttyAM0 or possibly ttyAM1. To be sure plug and unplug the Arduino and see what changes.
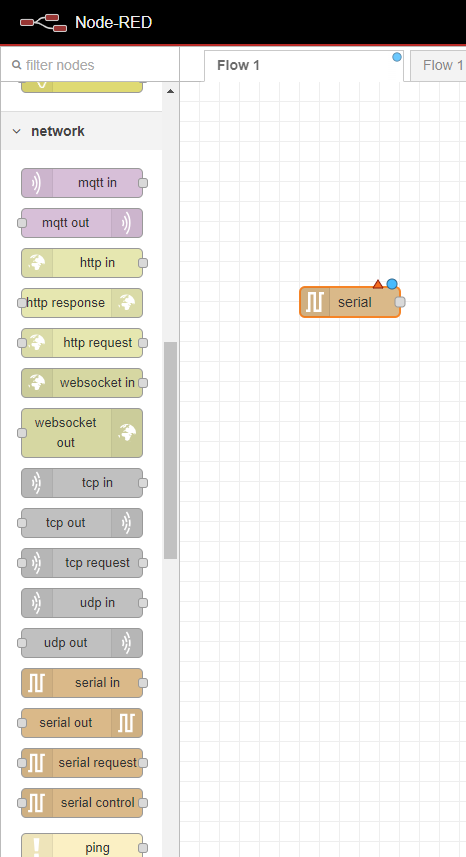
We can now add the serial port in Node-RED. In Node-RED add the serial in node to the flow
Click on the node to get to the settings.
Give the node a useful name. Then click on add new serial port (the plus next to the Serial Port drop down).
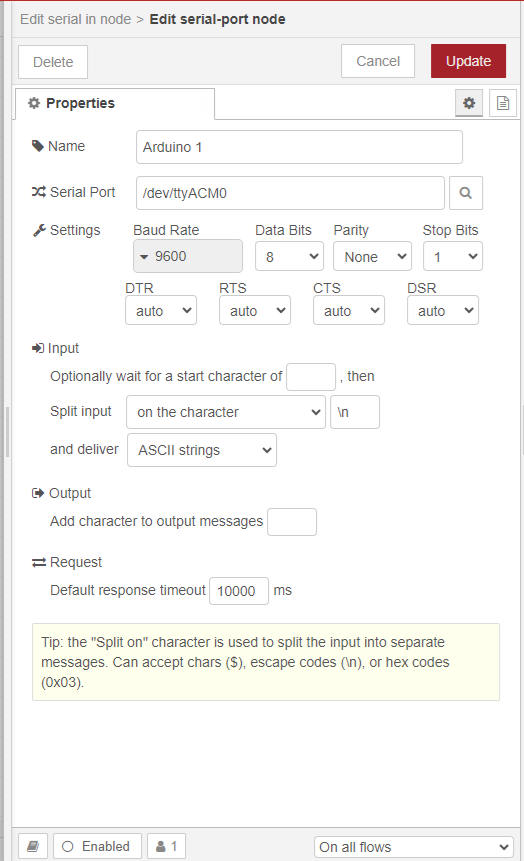
Give it suitable settings to interface with your device. Here are shown settings that should work with an Arduino (check the Baud rate in your Arduino code)
The Serial Port should be set to whatever came up earlier in /dev/
Press update and add a debug node
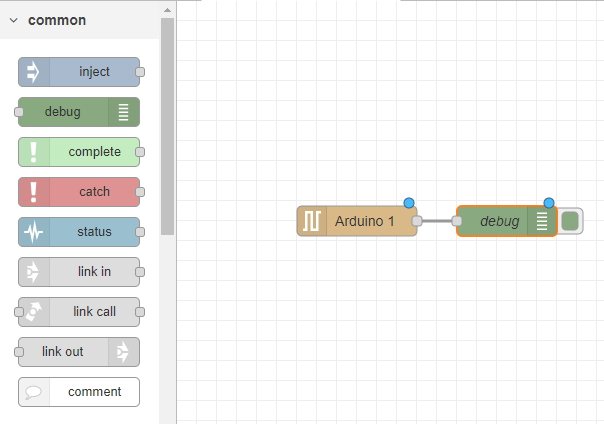
Then deploy the changes and monitor the debugger
If you get
serial port /dev/ttyACM0 error: Error: Error: No such file or directory, cannot open /dev/ttyACM0"
Then make sure the device is plugged in
If you get
serial port /dev/ttyACM0 error: Error: Error: Permission denied, cannot open /dev/ttyAMA
then check the permissions of /dev/ttyACM0 and that the user is in the dialout group